Click to view our Accessibility Statement or contact us with accessibility-related questions


PRODUCTS YOU MAY LIKE
Trending Posts in Mechanical Keyboards
lwthunder
Drop CTRL V2 Mechanical Keyboard PCBA
If I want some hot-swap socket for replacement, where I can buy to ensure it fits this PCBA?
Apr 17, 2024
ThereminGoatMK
Do I Need to Lube My Keyboard Switches?
Figure 1: Sometime around here is a good time to ask that question... If you’re new to the mechanical keyboard hobby, I have no doubt that planning your first keyboard build is a bit of a daunting task. To be entirely honest with you, it’s only a tiny bit less daunting for your second or even third keyboard builds should you stay around a little while longer. You’ve got the keyboard itself to worry about, stabilizers, keycaps, and even switches on top of all of the intangible marks you want your dream keyboard to hit. Switches are especially daunting right out of the gate as there’s just so many options out there to pick from – each with their own unique specifications, manufacturers, and more. Yet, in spite of all of these differences between switches, time and time again I find people always asking about lubing switches as one of their chief concerns when it comes to picking some up. With countless numbers of content creators talking about lubing switches, its no...
Apr 17, 2024

TiKiToPia
Keyboard & Drink
Playful set
This set goes better for keyboards meant for personal-casual setups as opposed to office-work environments.
Apr 14, 2024

Keyboy
help Momoka zoo 65
What is the diameter and length of the screws for the momoka zoo 65
Apr 14, 2024
jtgas23
ALT V2 not detected with Drop Keyboard Configurator
Hi, This is my first non-mac keyboard. I was under the impression that this would work out of box with with mac desktop however I am having issues getting the ALT V2 detected with the keyboard configurator software. The keyboard is plugged in and powered on. Apologies if this is very basic or if I have used incorrect language describing my issue, I don't have experience with this. Thank you
Apr 13, 2024
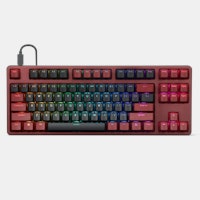
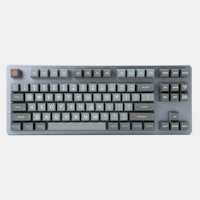
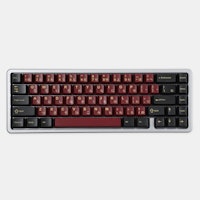
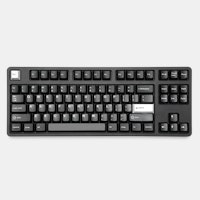
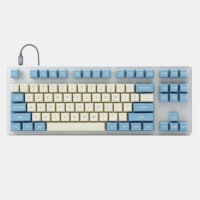

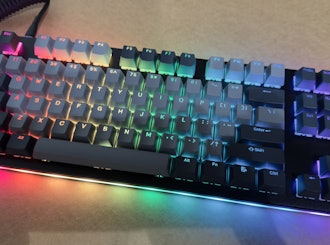

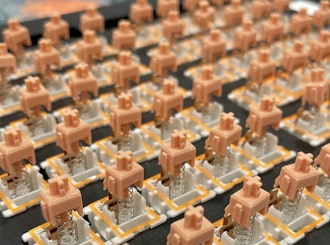
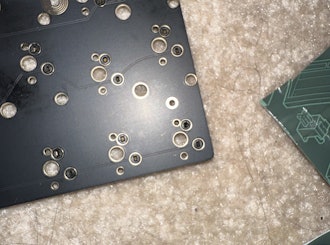
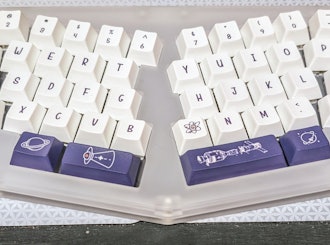
I posted a picture in the Jukebox discussion: https://www.massdrop.com/buy/jukebox-sa-keyset/talk/580935
Enjoy!
To be honest the Jukebox keycaps were the only set I could find with decent labels :) I'd much rather have ordered the Graphite set but that's not available anymore. But the vintage look is starting to grow on my :) It's a bit of a contrast with the rest of my desk though.
I did change the layout a bit: http://www.keyboard-layout-editor.com/#/gists/885b6e87a832cdd96470ec89a9bb57eb
Main differences: - Moved some modifiers around to make them more useful on a Mac - Moved the left/right arrow, weird default location - Layer 1 under the 'rubout' key. This is much more accessible than the 'A/B Side' keys - Extra arrow keys under home row - Added some media keys and controls for the backlight - Added frequently used parenthesis etc close to the homerow on L1
That being said, I too initially was drawn to the Carbon set (from the pictures) but realized how beautiful the Jukebox keys were when I saw the ones @SwefffyMo bought in the first run. I'll post another picture here when I finish the formica pattern on the left hand.
Nice work, @smoyer! How did you add the layer?
To make the layer, I took the keyboard(s) apart and used the second layer of acrylic and a sharp pencil to draw the pattern onto the material. Then it was a lot of careful cutting! Once it was cut out, I just sandwiched it between the top and second layer of acrylic. I did have some edges that were binding a little bit when combined with an imperfect alignment of the acrylic. Remember when using an existing piece as a template that you have to cut away the pencil lines on both the inside and outside of your part.