Click to view our Accessibility Statement or contact us with accessibility-related questions


PRODUCTS YOU MAY LIKE
Trending Posts in Mechanical Keyboards
lwthunder
Drop CTRL V2 Mechanical Keyboard PCBA
If I want some hot-swap socket for replacement, where I can buy to ensure it fits this PCBA?
Apr 17, 2024
ThereminGoatMK
Do I Need to Lube My Keyboard Switches?
Figure 1: Sometime around here is a good time to ask that question... If you’re new to the mechanical keyboard hobby, I have no doubt that planning your first keyboard build is a bit of a daunting task. To be entirely honest with you, it’s only a tiny bit less daunting for your second or even third keyboard builds should you stay around a little while longer. You’ve got the keyboard itself to worry about, stabilizers, keycaps, and even switches on top of all of the intangible marks you want your dream keyboard to hit. Switches are especially daunting right out of the gate as there’s just so many options out there to pick from – each with their own unique specifications, manufacturers, and more. Yet, in spite of all of these differences between switches, time and time again I find people always asking about lubing switches as one of their chief concerns when it comes to picking some up. With countless numbers of content creators talking about lubing switches, its no...
Apr 17, 2024

TiKiToPia
Keyboard & Drink
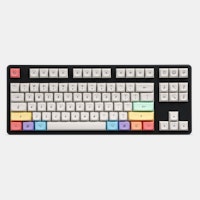
Playful set
This set goes better for keyboards meant for personal-casual setups as opposed to office-work environments.
Apr 14, 2024

Keyboy
help Momoka zoo 65
What is the diameter and length of the screws for the momoka zoo 65
Apr 14, 2024
jtgas23
ALT V2 not detected with Drop Keyboard Configurator
Hi, This is my first non-mac keyboard. I was under the impression that this would work out of box with with mac desktop however I am having issues getting the ALT V2 detected with the keyboard configurator software. The keyboard is plugged in and powered on. Apologies if this is very basic or if I have used incorrect language describing my issue, I don't have experience with this. Thank you
Apr 13, 2024
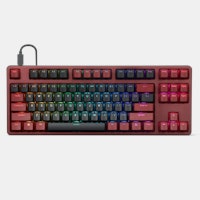
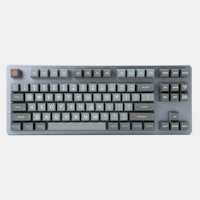
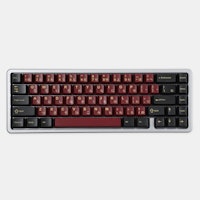
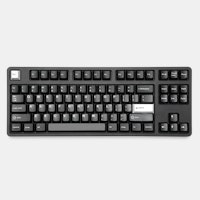
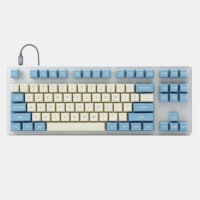

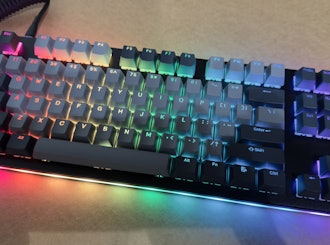

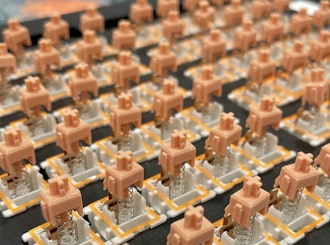
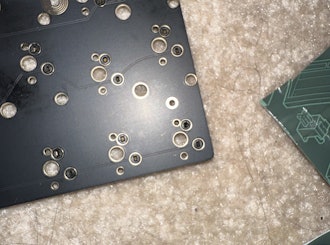
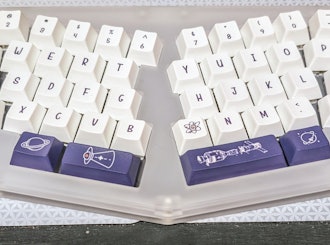
First solder the four corner switches on to your keyboard. It make it easier to put the rest of the switches on the board.
Second, after putting the corner switches, I would put the stabilizers and the stabilizers key switches (right shift, enter, space bar) next. After just go ahead and place the rest of the switches and finish the soldering.
Third, when putting the key caps, if it your first time with the switch (for me it was a Matias switch), then put the top row first. This way you get a feel of how it feels when a key cap correctly mounts on to the switch.
After placing the key caps on the top row, I would put the key caps that use the stabilizers. Just note that the stabilizer nubs that go on the key cap need to face the same direction. If you carefully look at the nubs, one side is a bit longer than the other. After making sure that the nubs are in the same direction, when placing the key cap, the longer side of the nub needs to face the top row of the keyboard. This will ensure that the nubs fit on the stabilizer "pocket". If you feel the keys that use the stabilizers are sticky, I would check for the following that the nubs are facing the same direction. If it is not this, then you probably have the plate mounted part of the stabilizer on wrong.
Lastly, I would just finish putting on the last of the key caps.
For configuring the keyboard layout, by far editing the kll files via terminal works best than the GUI version on the websites. However, I found that that the documentation on github is a bit lacking.
I worked on a Mac and on a Linux to build the loader for the keyboard, but I imagine windows Cygwin would be around the same.
First, make sure that you can compile the project after you clone it. Not only does this becomes as a sanity step to check that your system has all the right programs and libraries, but it also compiles more directories that will make your life easier.
Second, all your kll layouts that you create should go into /path/to/project/kll/layouts (I believe this folder is created after you compile the project the first time). Since I like goats, I name my two files goat.kll and goat1.kll . So for me it looked like /path/to/project/kll/layouts/goat.kll and /path/to/project/kll/layouts/goat1.kll respectively.
Third, if you go to /path/to/project/Keyboards (again, another folder created after compiling the first time) you will find a file named infinity.bash. You will edit this with your favorite editor. If you are not sure what editor to use, then nano or pico are easiest (just know that when the program says ^, that means control, so to save the file ^o means ctrl-o). The lines that are of interest to you are the ones that read DefaultMap and PartialMaps[1]. In my case I edited this so that it would read (Note that I am not using the .kll extension on the file names):
DefaultMap="goat" PartialMap[1]="goat1"
If you had more layers, you will simple add PartialMap[2]...PartialMap[n] (where n is the layer number) to your configuration with its proper file name.
When you finish editing the file, save it and exit to go back to /path/to/project/Keyboards. All you have to do from here is type in:
bash infinity.bash -f
This will create a folder called template. Then go to this folder (/path/to/project/Keyboards/template/) and you will see that a file called load is created.
From here all you need to do is plug in your keyboard, press the back button (a orange led should turn on) and type the following:
bash load
This will load your mapping into the keyboard.
Final and most important step, enjoy your keyboard.
I hope this helps someone in the future.