Click to view our Accessibility Statement or contact us with accessibility-related questions


Showing 1 of 282 conversations about:
noble-argon
5
May 10, 2018
bookmark_border
noble-argon
5
May 11, 2018
bookmark_border
noble-argonTips for newbies (like me -- read #18 if you're considering ignoring the plate):
1. The switches go into the plate. The plate goes into the circuit board. 2. I didn't use the misscut plate. The result would be a LOT easier and BETTER with a plate (except for Right-ALT) 3. Right-ALT. When was the last time you touched that key? 4. On each switch the "Cherry" logo hits points North except for Numpad + and Enter which are sideways. You'll work it out. 5. The spacebar row is very fiddly, each key has multiple overlapping holes. Usually it's the left-hand one (you'll know what I mean). 6. The black screws hold the keyboard in. If you're removing a silver screw you're doing it wrong. 7. The rear feet have two screws each. Why? I don't know. It's awesome. 7a, AWESOME. Why? Why not. 8. I desoldered the first two switches I soldered and a couple of others. The spacebar row took ages so switches were aligned properly. It's easier to align the 2U+ switches with a keycap attached. 9. The LED strip? WTF. Let's check the instructions.
11. Soldering directly to board involved using the plate to hold the switches in place. Also some rubber bands. 12. Right. The LED strip. The inbox instructions, let's read them
14. USD $300 and no official information on Massdrop site or included in the box. #crapcrapcrap 15. 2032 battery is not included. 16. The battery instructions moulded into the remote are rotated 90 degrees. #wtf 17. The LEDs embedded on the PCB work. The result is awesome. 18. Without a plate there is A LOT OF LIGHT LEAKAGE up through the keys. 19. Without a plate more hair, snot, skin, bodily emissions of all sorts may end up on the very expensive keyboard circuit board. 20. The LED strip. Back to the instructions:
22. This product is great. Needs better PR/Marketing.

AnimeKing
18
May 15, 2018
bookmark_border
noble-argonSo what did you do with the LED strip? I'm super clueless as to what its even there for since theres LEDs pre-soldered onto the PCB already.
noble-argon
5
May 16, 2018
bookmark_border
AnimeKing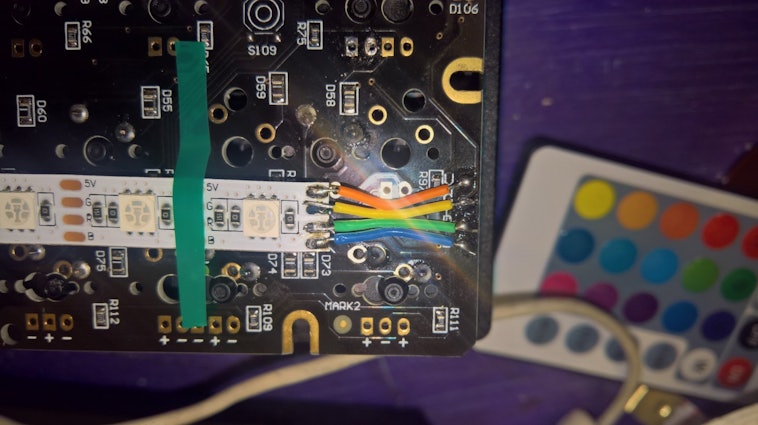
Yes my soldering is crap. And that's the second go. Originally I had a much longer piece of ribbon cable. You could definitely use a shorter length than the photo.
When the plate arrives I'm going to desolder all the keys and hot-glue the strip down. In the meantime a bit of electrical tape holds it in place.
Things you may not know:
Menu key = Fn. Fn+Esc toggle LEDs on/off Fn+F1 next solid colour Fn+F2 next colour mode Fn+F3 Dimmer Fn+F4 Brighter Fn+F5 !!!!! Refresh your browser. There is no Fn+F5. Fn+1 - 8. Various colors Fn+N volume down Fn+M volume up Fn +, toggle mute
Compile your own firmware from this https://github.com/kairyu/tmk_keyboard_custom/tree/master/keyboard/RedScarfIII
Default keymappings: https://github.com/kairyu/tmk_keyboard_custom/blob/master/keyboard/RedScarfIII/keymap_default.c
This thread is full of awesome if you pick through it. https://geekhack.org/index.php?topic=69282.0
Download hid_listen.exe and use MAGIC SECRET KEYS! https://www.pjrc.com/teensy/hid_listen.html
LShift+RShift+V
----- Version ----- DESC: t.m.k. keyboard firmware for Red Scarf III VID: 0x5253(Young Pioneers) PID: 0x0003(Red Scarf III) VER: 0x0001 BUILD: ac475cd-dirty (02:00:22 Jan 29 2015) OPTIONS: LUFA BOOTMAGIC MOUSEKEY EXTRAKEY CONSOLE COMMAND NKRO 6KRO KEYMAP_IN_EEPROM LEDMAP LEDMAP_IN_EEPROM BACKLIGHT SOFTPWM_LED BREATHING_LED 4096 GCC: 4.8.1 AVR-LIBC: 1.8.0svn AVR_ARCH: avr5
LShift+RShift+E eeconfig: default_layer: 0 debug_config.raw: 00 .enable: 0 .matrix: 0 .keyboard: 0 .mouse: 0 keymap_config.raw: 00 .swap_control_capslock: 0 .capslock_to_control: 0 .swap_lalt_lgui: 0 .swap_ralt_rgui: 0 .no_gui: 0 .swap_grave_esc: 0 .swap_backslash_backspace: 0 .nkro: 0 backlight_config.raw: 05 .enable: 1 .level: 2
HTH

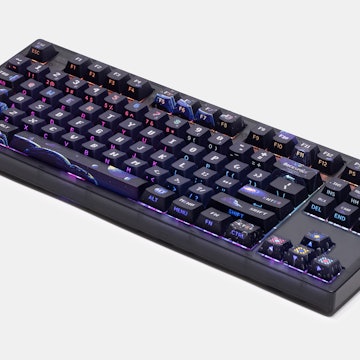
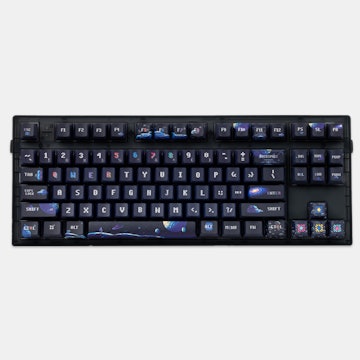
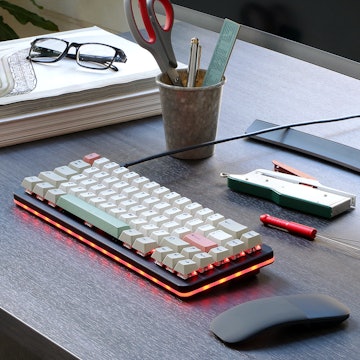
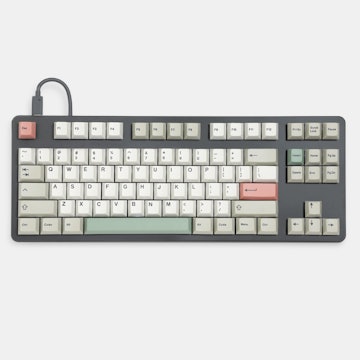



Typing this on my RSIII. Who needs a plate, just soldered the Cherry browns straight to the board. All up the package is great, and the attention to detail is class. Yes, the precision cut plate has 17mm² too much material but when was the last time you used right-Alt anyway? You're buying this keyboard because Ctrl+Insert and Shift+Insert are the One True Copy and Paste. I did, anyway. I've been running with Numlock Off in BIOS since before Nethack
I never use those keys between enter and the numpad.
The build quality is excellent, the black aluminium frame looking gorgeous, the translucent base makes the keyboard float when lit.
But what about using it?
It's great. Completely compatible with Nethack 3.6.0, Vim and Rise of the Tomb Raider The translucent base makes the keyboard appear to float. There is a remote control with 24 keys which must be like a dollar in the BOM.
Are you mocking us? I bought a keyboard at $2/ key and you include an extra 24 keys for giggles? Giggle keys at 4c a key! Guess which of the $2 and 4c keys are remote control.
No seriously, I think this is great.
One possible concern: I think I'd prefer F1-F12 in three groups losing the two keys above Backspace -- my perfect keyboard is one without the arrows and nav cluster. I literally never touch them.
DS RSIII 9/10 (assuming plates don't matter to you)