Click to view our Accessibility Statement or contact us with accessibility-related questions


PRODUCTS YOU MAY LIKE
Trending Posts in Mechanical Keyboards

Robbedoes
*Help* Screw in stabilizers not fitting in Dropshift V2 keyboard
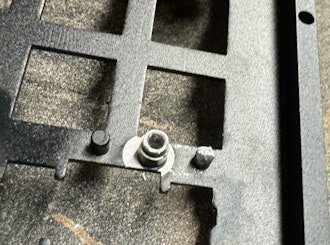
I'm trying to build a mechanical keyboard with screw in stabilizers, I've build some mechanical keyboards with click-in stabilizers, never with screw in. Somehow one of the pins of the metal top-part collides with the screw in stabilizer of the numpad "enter key". I already tried grinding of a bit of the pin that collides with the stabilizer, but unfortunately I can't make it fit/close properly. You can see that the pin of the toppart leaves a mark on the bottompart of the stabilizer, see picture 2. What am I missing? Using Durock V2 in a Dropshift fullsize V2. See pictures below, thanks in advance!
Apr 23, 2024
Fukyachickennuggets
Polymer clay
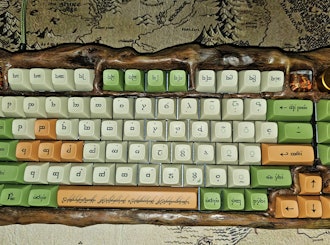
Don't drop crazy cash on custom wood builds! Instead go buy polymer clay and paint. Then you can spend a ridiculous amount of time trying to make it look like you can afford to drop crazy cash on...
Apr 22, 2024
GrEEdYY
HELP PLEASE!
HELP PLEASE! I put noise insulation in the keyboard and after that it stopped working, the only sign of life is 5 blinks of orange light.can do something about it? model:DROP ALTv1
Apr 22, 2024

Durazell
Want to build a Clicky Mech Keyboard. Where to begin?
Hello all. Am brand new to the idea of building my own keyboard. Have not a clue where to begin this process. I am a Sim Game enthusiast. American Truck Sim, DCS Flight Sim and goes from there. Need some real help on where to start for making my own Full Size, Clickey Mechanical KB. I want each key to have its own backlighting. Are there keys that are better than others for this? Is there a great spot on site for a person who has never even taken a keyboard apart? Let alone fixed or built one? I would like it to fit my theme of Red and Black. Yet maybe have the option of changing things up a bit. Any help at all would be greatly appreciated. Thank you all kindly, Durazell
Apr 20, 2024

CaptainYoghurt
Does the ALT v2 PCBA support USB-C e-marked cables?
Currently my ALT v1 does not work with e-marked USB-C cables. I was wondering if the v2 PCBA does support these types of cables (thunderbolt 4 cable for example)?
Apr 20, 2024

AiheyStudio
Favorite Artisans
Dragon Pillar Artisan Keycaps Creative Resin Keycaps for 6.25u and 7u Space Bars
Discover the allure of our Dragon Pillar Artisan Keycaps – unique resin keycaps designed to adorn your 6.25u and 7u space bars. Crafted with creativity and precision, each keycap features an...
Apr 18, 2024
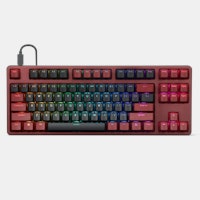
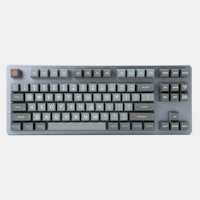
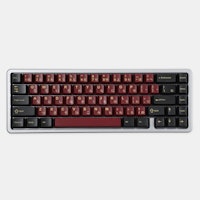
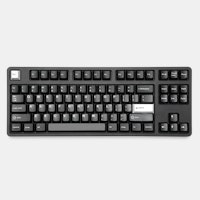



On the plus side, I tested all by switches as working and the circuit board seems to be functioning as expected. I wasn't able to test the LEDs I installed as I guess they are not programmed to come on be default. I'll need to retest it all after I tear it apart and put it back together.
On a side note, I found that one of the screws I received did not have a hole in it for putting the Allen wrench into. Maybe I'll get lucky and find a replacement at the hardware store, or maybe I'll just go without a screw.
When you start separating the switches from the pcb, be gentle and desolder the same pin a couple times until it's loose, poke it with a pair of pliers, it should wiggle
So I got the space bar stabilizer in without desoldering much; however, it is upside down and the bar goes on the top side not the bottom. I found this out after seeing that the holes in the PCB are the incorrect size to snap in correctly (there is a larger hole and a small hole and the space bar is different than the others). This means that the entire thing needs to be desoldered. I am not looking forward to this. :(
If you already have the LEDs installed, look at the LED and note that inside, one side is larger than the other, so you can determine orientation off of that (I took pictures to help remind me of the orientation). To remove them, I just touched both legs with my soldering iron and pulled/wiggled the LED out when the solder was melted on both legs. Removing the LEDs did make things easier in the long run and putting them back in wasn't too bad (assuming you take the time to clean out the through holes on the circuit board).
Again, best of luck and I'll try to answer any questions you have if you run into trouble.