Click to view our Accessibility Statement or contact us with accessibility-related questions


search
close
Sort by: Newest
keyboard_arrow_downmceschx
5
Jun 26, 2020
Just wanted to say that I really appreciate this thread! My only (very basic, and dumb contribution, as I'm just getting started, and don't know anything), is that if you find you have excessive bubbles from part and anode during anodize, you can try to reduce the number of:
A) Dead bugs floating in your electrolyte solution (set aside for garnish)
B) Random Aluminum chips, coolant or other contaminants (use distilled instead of tap water)
C) Setting a current limit on your power supply to something less the default. I've found that many of these power supplies enable current limiting by turning it on while shorting power to ground leads (and then adjusting current limit either through an indepdent knob, or up/down buttons)
Many thanks for the leg up on all the techniques and reference materials! (I've got miles to go, but having great fun)
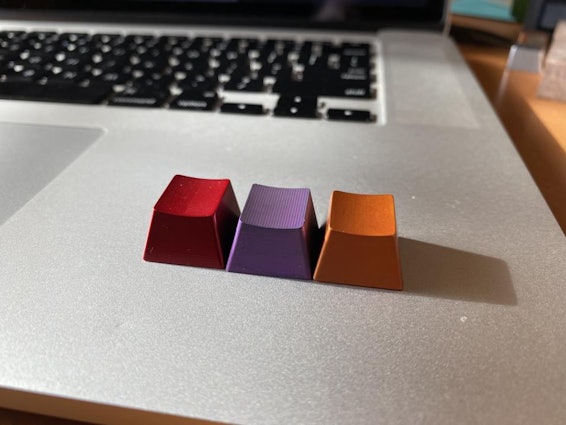
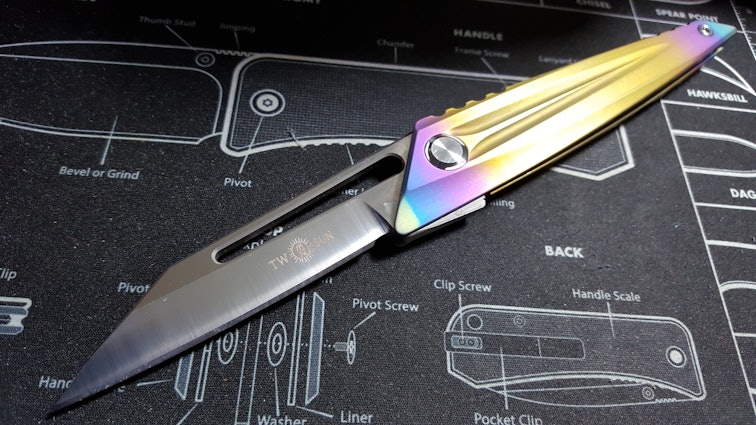
(center piece only is Ti)
reswright
3850
May 5, 2020
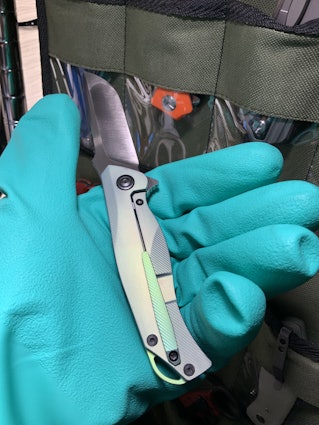
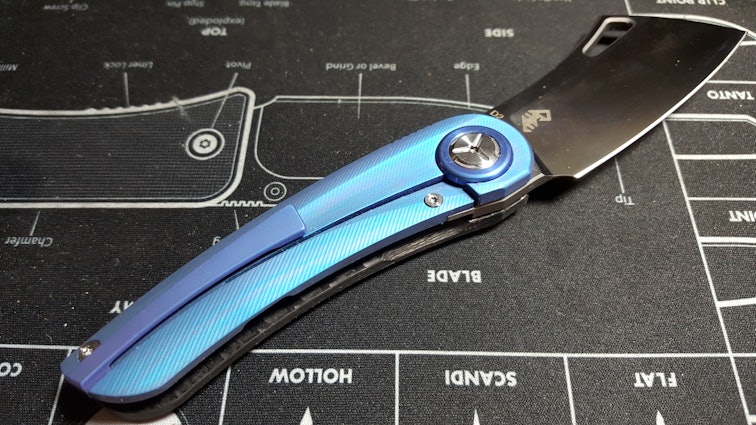
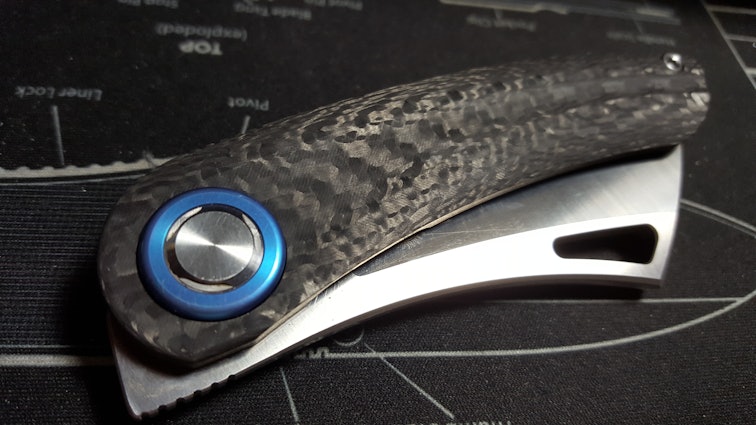
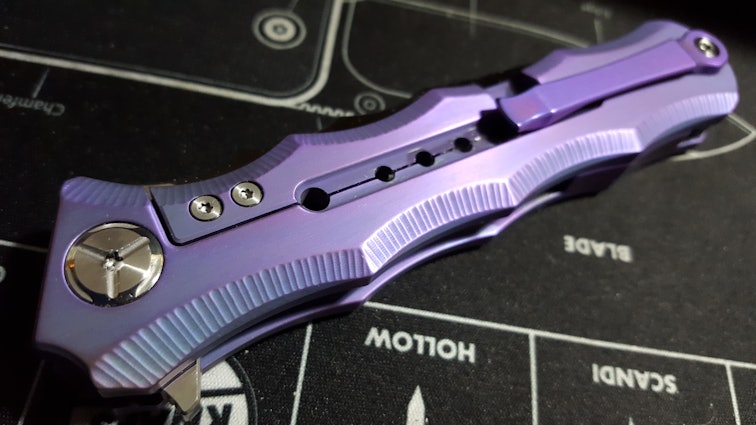
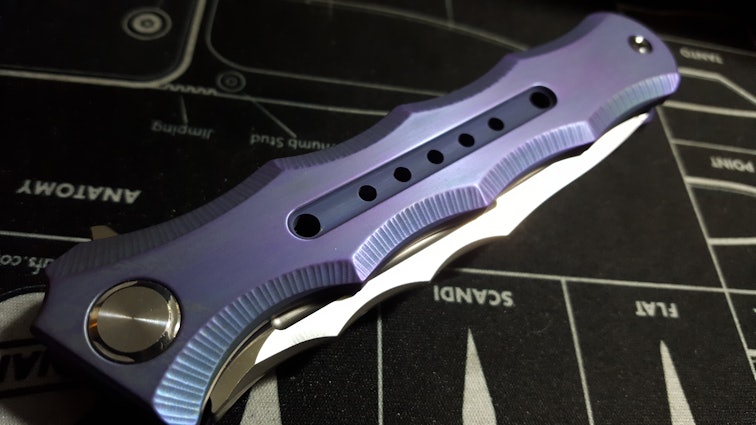
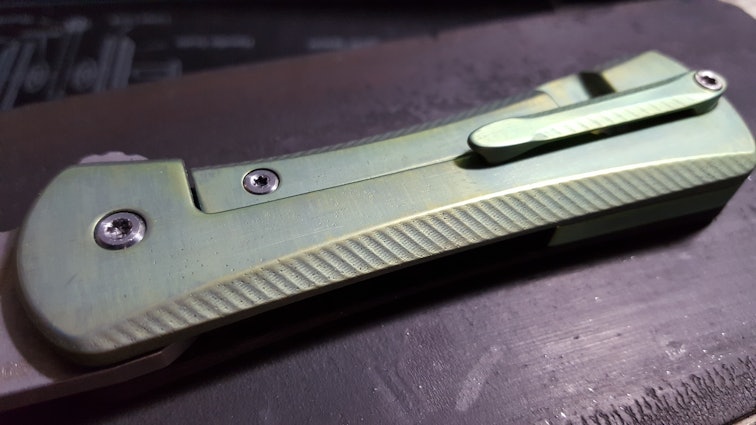
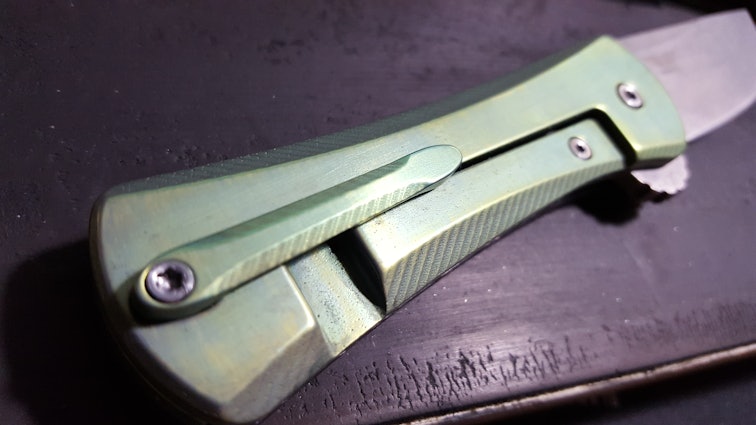
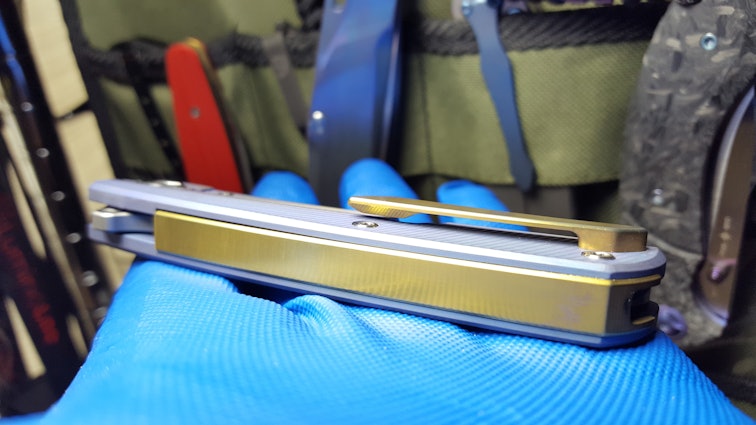
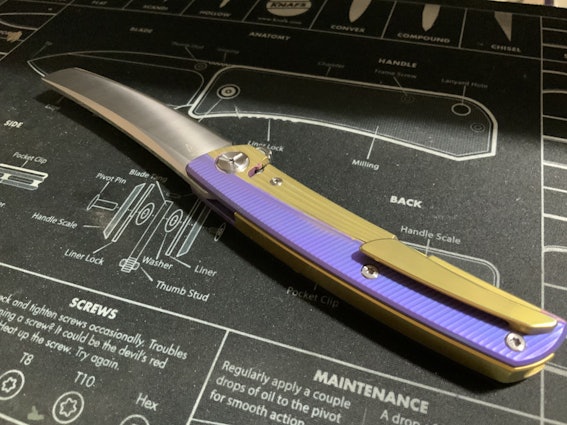
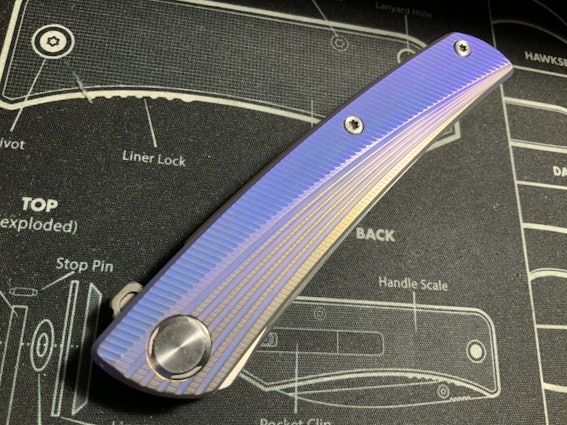
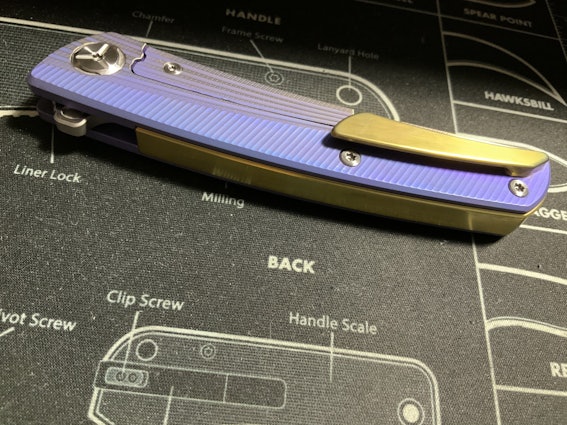
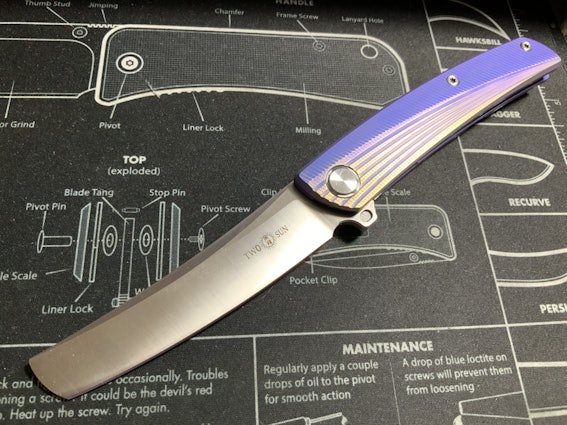
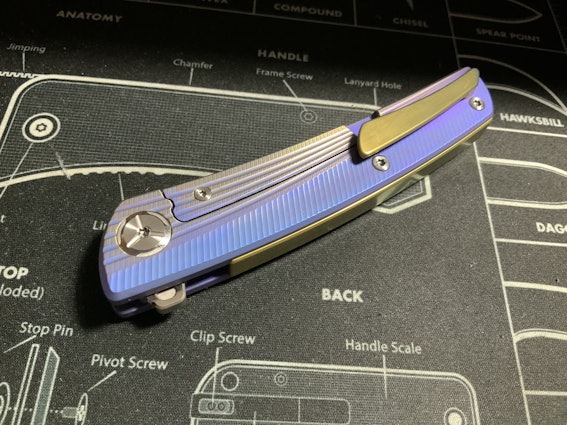
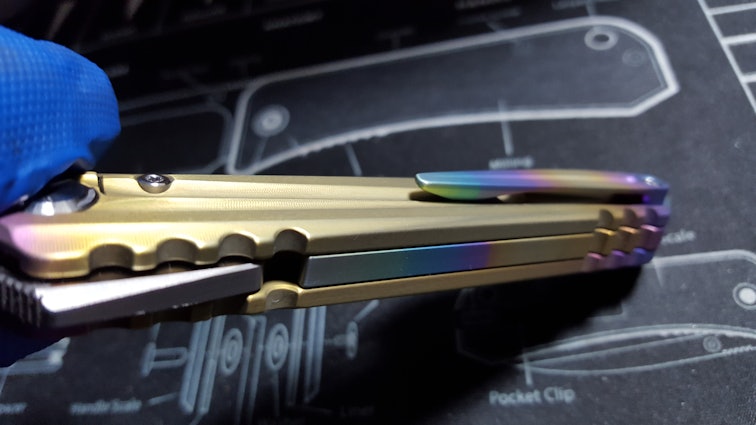
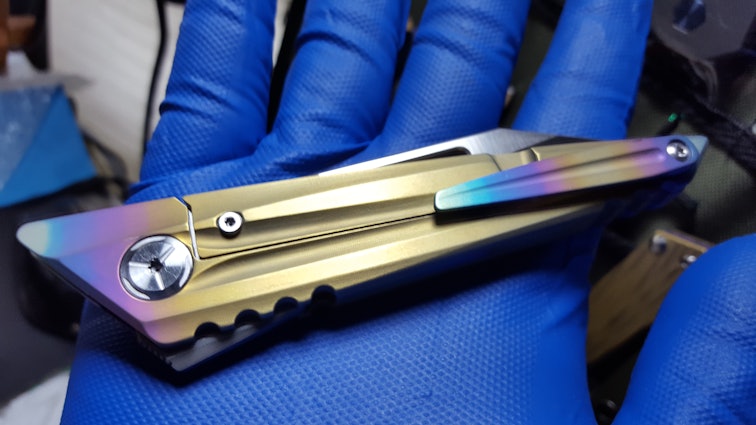
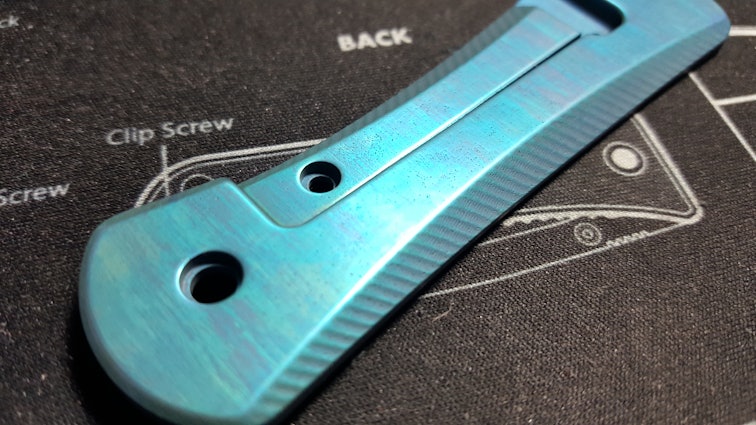
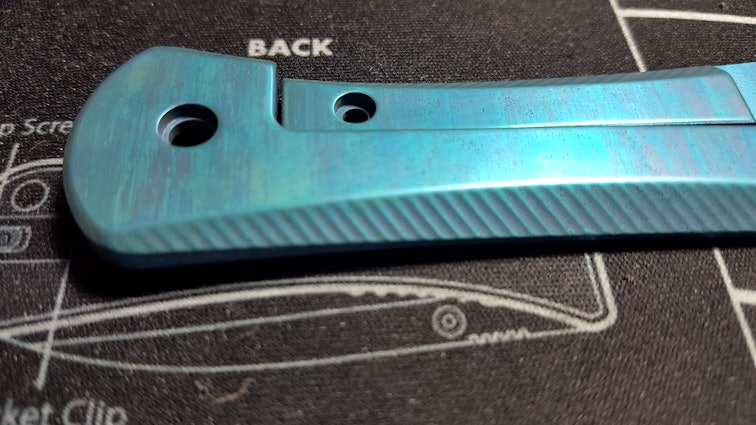
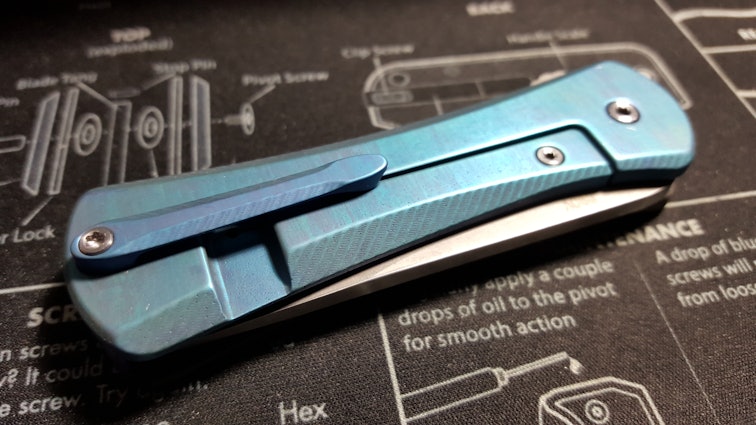
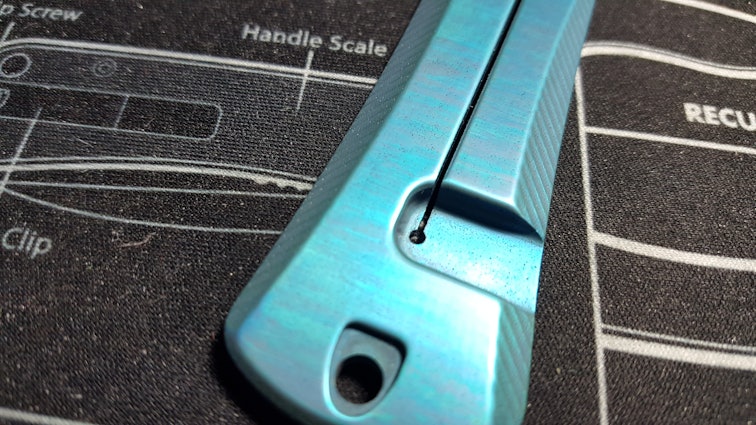
First two anodizations with a titanium plate for an anode, and I see some difference. The first one, a TS-111 half Ti half CF started out with black finish over all the titanium parts that took quite a while to clean off. The second is my trusty TS-128 Dynamo, sanded down again.
Starting to think that the little pocks in the Dynamo aren't from stonewash, they're from gas coming out of solution as the alloy hardens. The more I sand it down, the more I can see. It's a known thing from what I have read.
reswright
3850
May 4, 2020
Re-redux:
reswright
3850
May 3, 2020
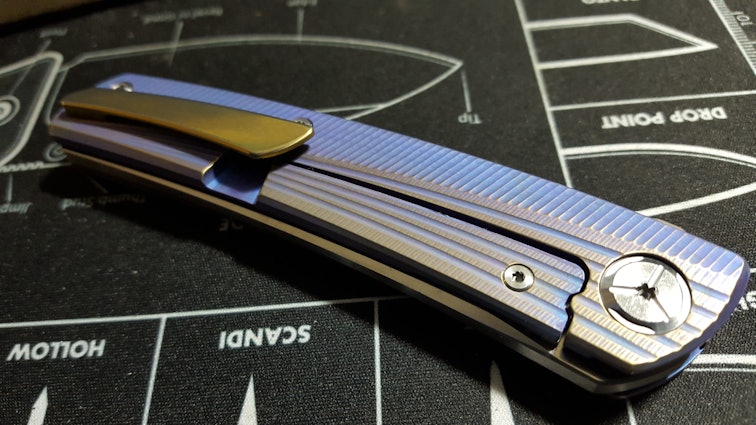
Same piece, roughly the same voltages, masked instead of weathered.
reswright
3850
Apr 25, 2020
Ready for another effect to try and replicate once you get up and running in the power source department?
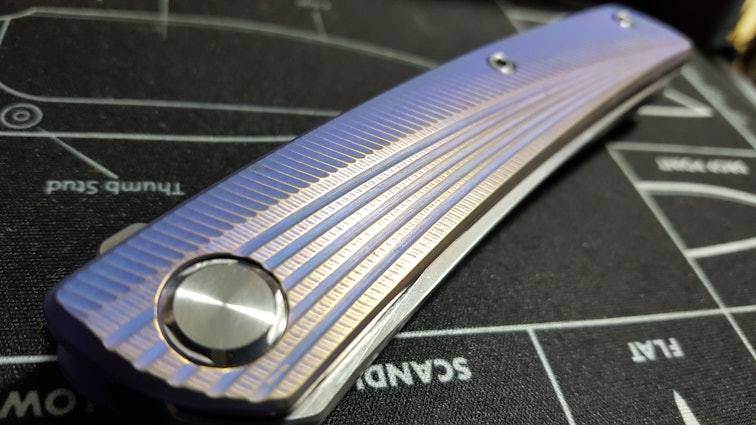
Here's the same polishing process on a different piece, this time sans BKF, at 85V on the dot:
reswright
3850
Apr 26, 2020
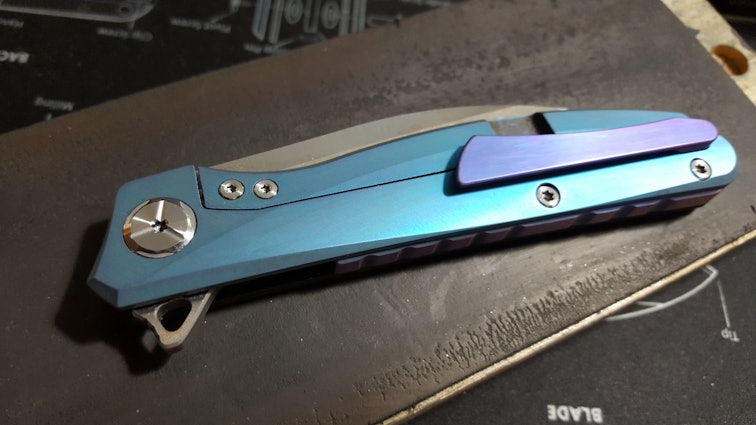
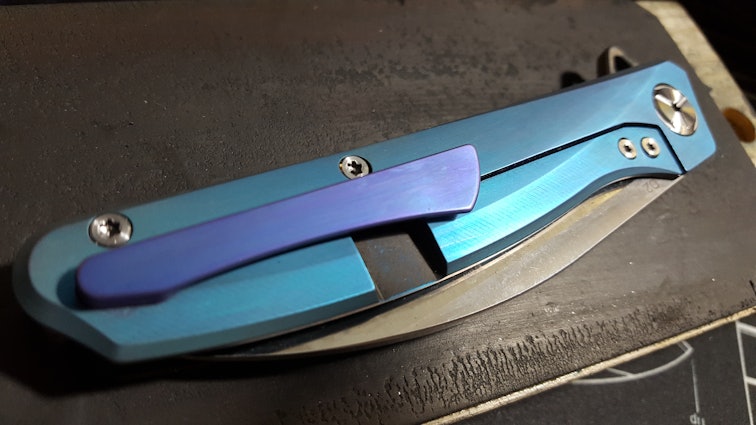
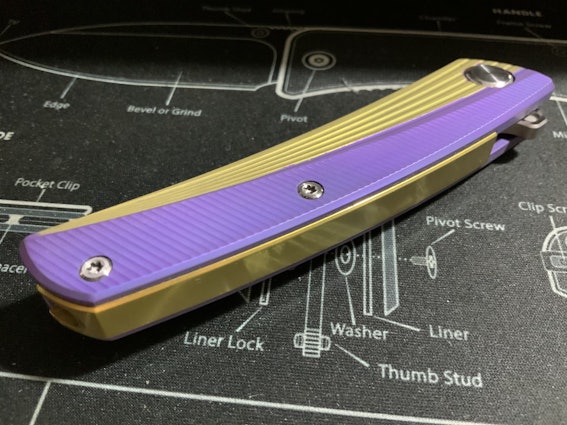
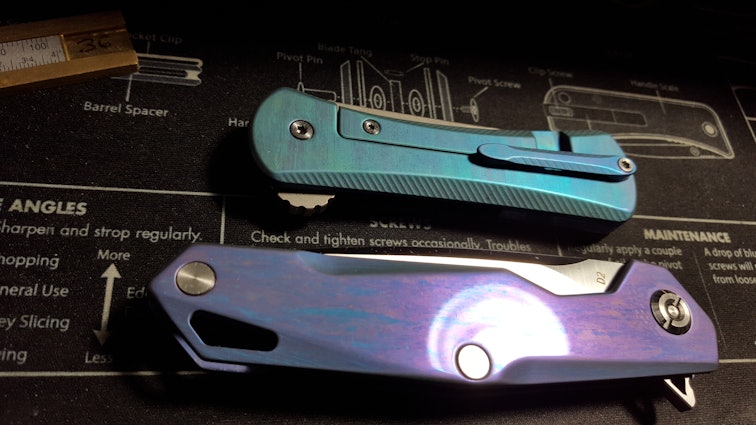
All TwoSun.
All the knives where it's happened have been anodized and sanded and polished and etched several times over so it could be the result of accumulated bad techniques. in at least some cases I'm thinking it's a case of trying to polish out too much -- you know, trying to polish out imperfectly resanded 800 grit sandlines with green and red rouge because I missed a spot with the 1200 grit sponge.
The thing is, both effects look like they could be harnessed and used more deftly if I understood them. As it is they don't look terrible, but they do still look a little haphazard.
Kavik
5531
Apr 26, 2020
reswrightAgreed, it would be an interesting pattern if intentional and controlled!
Would be real cool doing something like a solid color, with that pattern in a masked area using the same solid color with slightly different streaks, for a sort of ghost image effect
Both those possibilities you mention sound plausible. I know I have a test piece that I anodized and stripped so many times that it doesn't quite come clean anymore, for lack of a better term
Showing 42 of 342
PRODUCTS YOU MAY LIKE

Trending Posts in More Community Picks

Graham88
Completely surprised by the lack of blade diversity here on Drop...
I’ve been a collector of Blades since before my teens, and a retailer coming up on 15… or maybe 20 years. Drop has really been kind of an interesting experience for me, because I do occasionally get to see some unusual tech and sometimes EDC items that otherwise I might not have been aware of. And maybe it’s because I have a deep love of cutlery and bladed weapons, but I find myself trolling through the site looking at it what’s available; and it’s just it’s pretty much the same. And the bladed community here is just always confused me.. every single knife is about the same, they’re almost all drop points and although the handle materials change and brands change.. it’s really just the same knife over and over and over again... occasionally you’ll see a tanto or a slight variant; but rarely… and almost never a serrated blade. And I’m just deeply amazed at this diversion of serrated blades. And I’m just surprised there isn’t more of a request for diversity here.... and I...
Mar 12, 2020
JellyDPhoto
Can we get Sony E-Mount or other mirrorless camera options please..
Would be nice to see some Sony E mount full frame cameras on here. I currently shoot with a A99 and they killed the lense path for better or more option lenses and now is all E-Mount. 🤔
Jan 13, 2020

RayF
There Are Pandas, and Then There Are Pandas.
And this isn't either of them! The Pandas we're talking about here, are watches, not bears. And what got me thinking about them (again) was a link posted this morning by @cm.rook who pointed a few of us to the very attractive (and not terribly priced) Yema "Rallygraph" Panda which, in it's most traditional arrangement, looks like the one on the left, but can also be had in the version on the right: The model on the left is a true Panda, while the model on the right is called a reverse Panda. The reason for that distinction is clear--Panda bears, only come in the first arrangement. Now at this point, everyone should be thinking about the most well-know Panda, The Rolex Panda, which is actually a Daytona, and among Rolex Daytonas, the most famous of which is the Paul Newman Daytona, which was famous first, because it was Paul's, and second because it sold at auction for $17.8 million (US Dollars). The story of that auction is well-known so I'll only...
Nov 8, 2019
Drop Refurbished
Like-new products you can trustDrop Rewards
Get $5 for every 500 points you earn! Learn more
Drop Keyboard Club
Become a member and expand your keycap collectionCollaborate With Us
For Brands & DesignersFollow Drop
I'm still pretty new to this, but will do my best to share what I learn along the way
I had planned to break this up into separate posts, but since MD won't show oldest posts first, that kinda messes up that plan for keeping things in order. This is gonna get long, I'll continue adding to this first post over time.
Safety first :
We're dealing with high voltage Direct Current (DC) electricity here, along with some caustic chemicals.
Be sure to have ventilation when etching your titanium, the gasses this creates aren't pleasant. You should also be wearing gloves and goggles for this.
When anodizing, you should be wearing rubber electricity resistant gloves.
Required equipment :
-A source of DC power
-An electrolytic solution
-A cathode
-Some titanium
-Fresh water
-Whink rust remover
-Windex
Optional:
-Natural sponges, brushes, etc for spot anodizing
-Various abrasives for removing anodization from specific areas for special effects
-Vinyl, electrical tape, nail polish for creating stencils/masks
While this can be done with 9v batteries, I'll be focusing on using a bench top DC power supply. Use of batteries is inconsistent, and difficult to repeat unless you start with fresh batteries for every piece. And at the cost of batteries, you might as well buy the power supply if you plan to do more than a couple pieces.
As far as the electrolytic solution goes, I've seen people use all sorts of things for this. You can use cola, you can buy pre made solutions, I've been having good results with a mixture of 1tbsp TSP (a powdered detergent) and 2tbsp baking soda in a large bowl of water.
The cathode is a piece of conductive material with greater mass than the piece being anodized, this will clip to the negative lead. Many people say it should be of the same material as what you're anodizing/etching...steel for etching steel, copper for etching copper, titanium for anodizing titanium, etc. I've been getting decent enough results using stainless steel, so I haven't invested in a big chunk of titanium to see if it makes a difference.
The Whink rust remover is used to strip the surface of the titanium piece prior to re-anodizing.
Fresh water is used to rinse off the solution after you pull the piece out of the bath
Windex is used to clean the piece after you rinse in water. For some reason this really makes the colors pop as the final step
This is my current setup:
Then I place a plastic strainer inside the bowl, to be sure the piece being anodized can't touch the sides and cause a short.
And for added safety I drop that into a larger plastic bowl so that I don't accidentally touch the metal.
The positive lead is clipped to a length of titanium wire so that the clip itself never has to go into the water and get corroded. The piece to anodize hangs from the other end of the wire.
EDIT: updating the following steps after just noticing something in manufacturer instructions for the power supply
From there I make sure the dial is set to 0 volts, attach the handle to the titanium hook, lower it into the bath, then slowly raise it up to the desired voltage.
(this used to read set the voltage first, then lower it in.....that's why i was getting occasional voltage spikes, don't do that.)
I'll leave examples and specific methods for separate posts, along with a list of links I found useful once I have time to collect them.
Only other thing I'll add for now here is this tip:
Always remember when working in more than one color, a higher voltage will change the color of a lower voltage, but a lower voltage will have NO effect on a higher one.
So, if you want to create a sky blue knife with weathered edges showing a bronze color underneath, dip the whole thing at the higher voltage (around 25v for light blue), weather your edges next (via tumbler, sanding, scotch brite, rust eraser, etc), then dip it the second time at the lower voltage (around 9v for a light bronze)
Lastly, here's a generic color chart to get started with. Note that the actual colors will vary depending on your solution and the type of finish on the metal